EUROPELINK Quick Introduction
DASHBOARD:
Introduction
The 'EUROPELINK Fusion Reflector' has been designed with the aim of offering the greatest possible support to the users of a Yaesu digital radio.
Typical for the EUROPELINK-Reflector is the compatibility with 10-character callsigns, VW mode, DG-ID, Wires-X, Gm mode, sending and receiving of text messages,
availability of multiple rooms, AMBE and DVMega Cast.
When using the EUROPELINK-Reflector, you can choose between several rooms. You can find an overview of the rooms available on the dashboard.
Note: It is not allowed to connect other reflectors (C4FM / DMR / DSTAR) without permission.
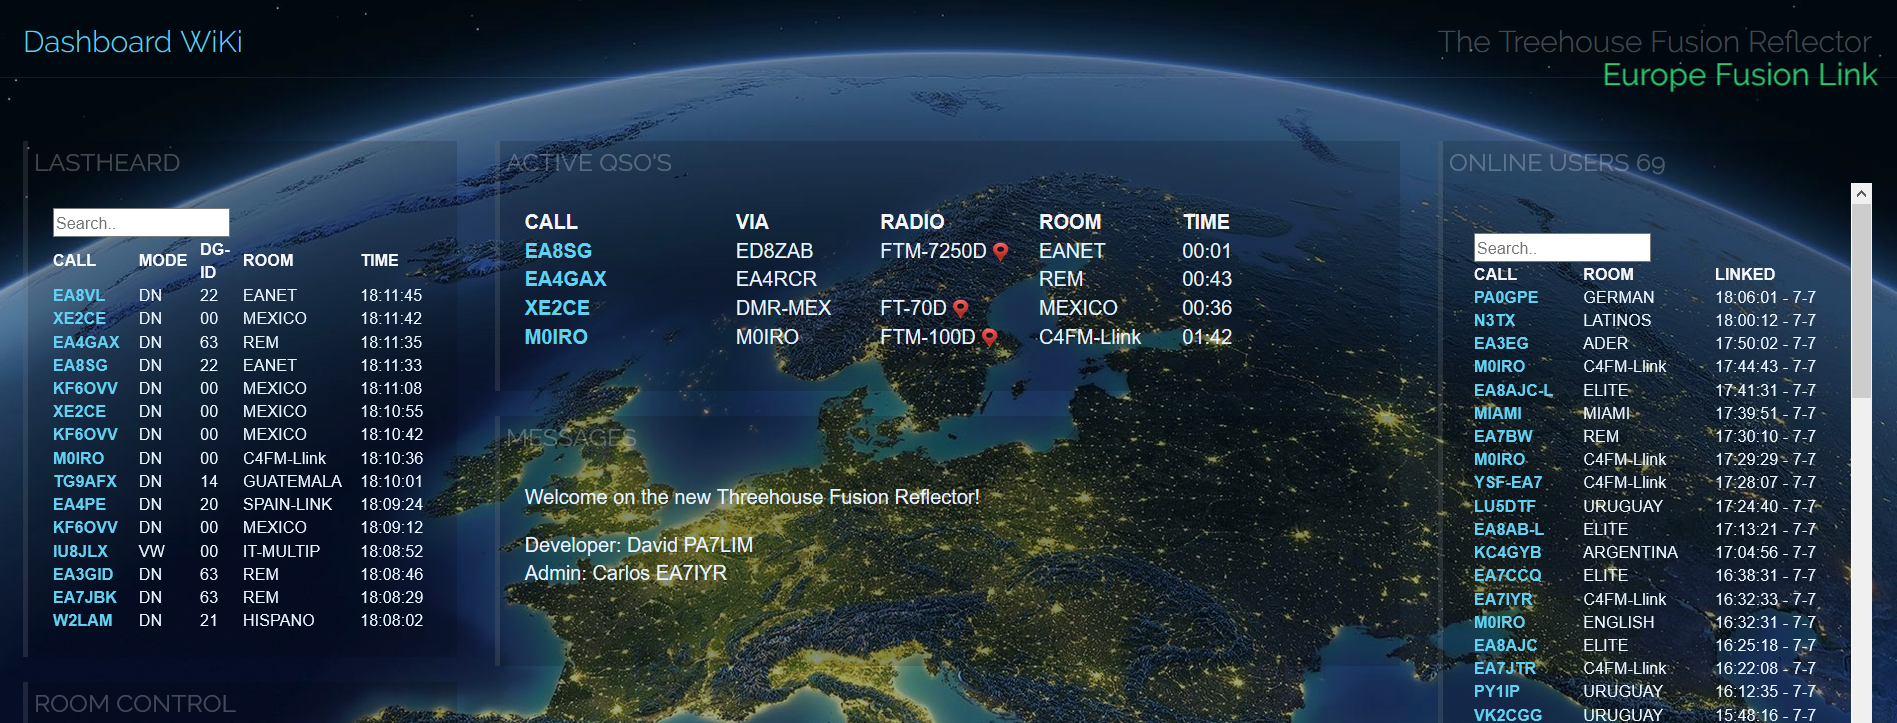
The dashboard in detail;
- Activate QSO's
In the center of the EUROPELINK Fusion Reflector Dashboard is the ACTIVE QSO'S window.
This window simultaneously shows all the active QSOs that are entered in the different rooms.
It is displayed; the callsign, the type of radio used, the APR indicator, the room and the elapsed talk time.
Note: The radio type is only displayed when using a Yaesu radio in DN mode, with GPS enabled.
The APRS indicator is only displayed when using Yaesu radios equipped with GPS.

- ONLINE USERS
The ONLINE USERS window shows all users currently connected to the EUROPELINK Fusion Reflector.
A scroll bar is created on the right side of the window if there are more users than the window can display.

- Lastheard
The LASTHEARD window at the top left of the screen displays a list of up to 15 stations that were last listened to.
At the top of the list you will find the most recent station, at the bottom is the station with the oldest time.

- SEARCH
At the top of the 'LASTHEARD' and 'ONLINE USERS' window is a blank text window.
This text window offers the possibility to filter information from the data

- ROOM CONTROL
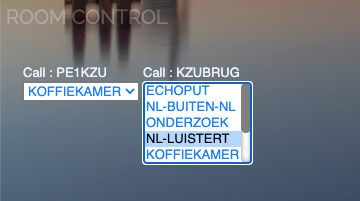
This window is located in the center on the left of the screen.
Clicking on the arrow to the right of the white box opens a selection menu with which you can change rooms.
Click the mouse on the desired room and the change will be made automatically.
- ROOMS (ROOMS)
The 'ROOMS' window is on the left at the bottom of the screen.
This window displays the available rooms and room numbers and is a reminder
if you want to change rooms using the DG-ID function on Yaesu radio.

Restrictions
To achieve the highest possible compatibility and quality, the following points must be respected.
- Disable Wires-X! Use only to switch to another reflector.
- The use of VPN is not supported. When using VPN, the Dashboard will not display correctly.
- VW mode is not supported when using AMBE and DVMega Cast modules.
- Pi-Star users; Use the updated Spanish version of pi-star for optimal use of the Reflector.
- Experiments are appreciated, illegal use is not allowed.
Hotspots and AMBE
The Reflector is a hobbyist initiative and is not part of the Yaesu System Fusion network. (WIRES-X)
A so-called 'access point' is required to connect to the Reflector.
Hotspots suitable for use with the Reflector;
- Pi-Star (EA7EE Spanish version updated for full support)
- ADER IMAGE: http: //www.associacioader.com/
- openSPOT (all versions)
- BlueDV (Windows, Linux, Android)
- BlueDV Raspberry Files Download Here: BlueDV_raspberry.rar
- BlueDV Raspberry IMAGE Download Here: buster_11_07_2020_bludv4.zip
- STICK AMBE
- DVMega Cast
Operation / use
As soon as one connects to the "EUROPELINK", the used radio connects to the "WORLD" room. This is the central meeting room for this reflector. General QSOs can be done here, or you can choose one of the other available rooms.
- Using the "ROOM CONTROL" in the instrument panel
- Use DG-ID setting (only Tx, Rx must be 0) on Yaesu radio (firmware fusion 2 required)
- FTM-100D
Press the Gm button for 2 seconds to display the DG-ID menu.
Then press the DISP button, the TX value will now blink.
Turn the menu selector knob and set the desired room number.
Press the BACK button 2x to return to the basic screen.
Now press PTT to switch to the selected room
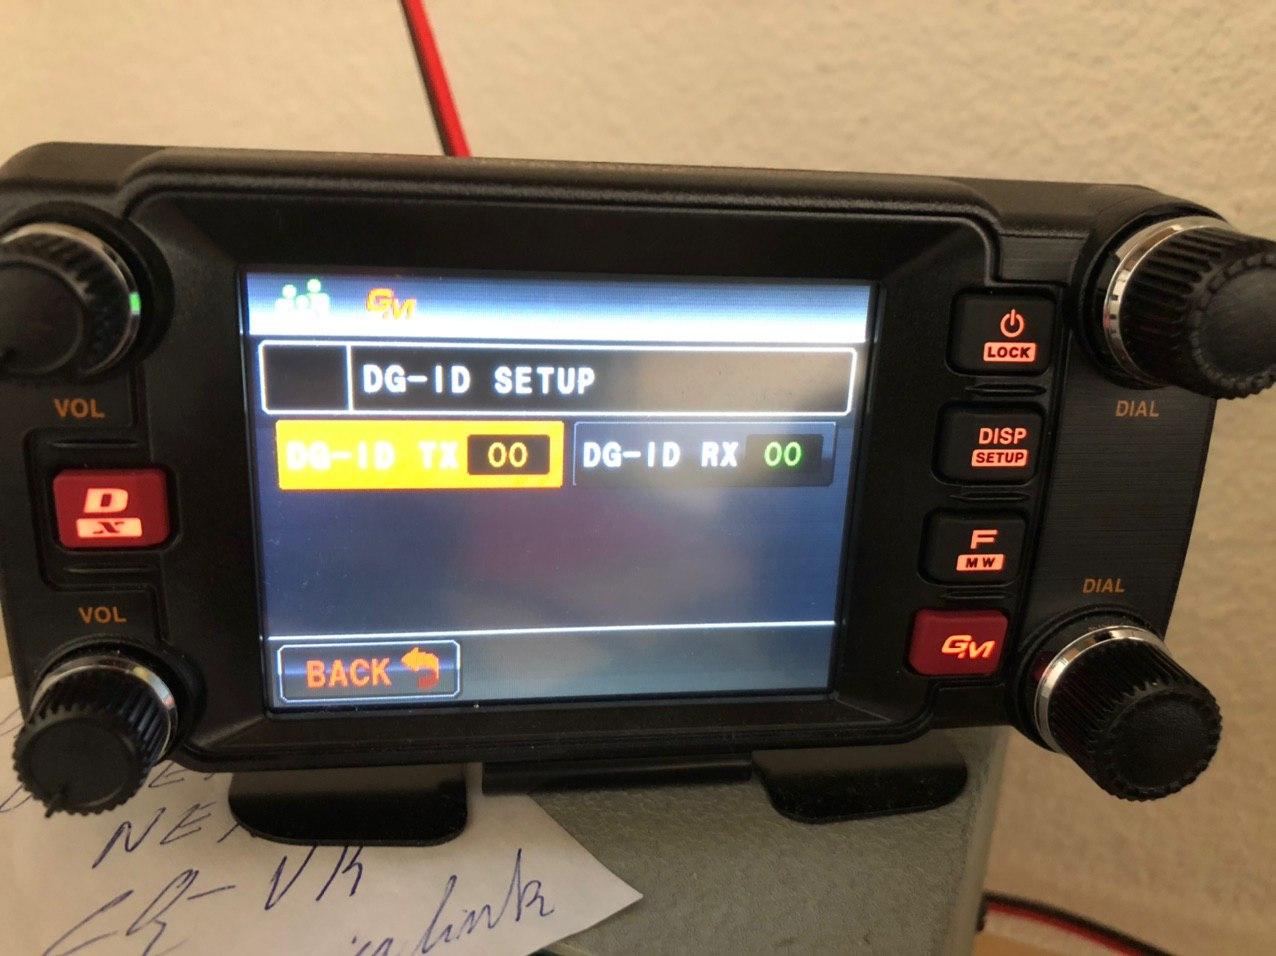
- FTM400
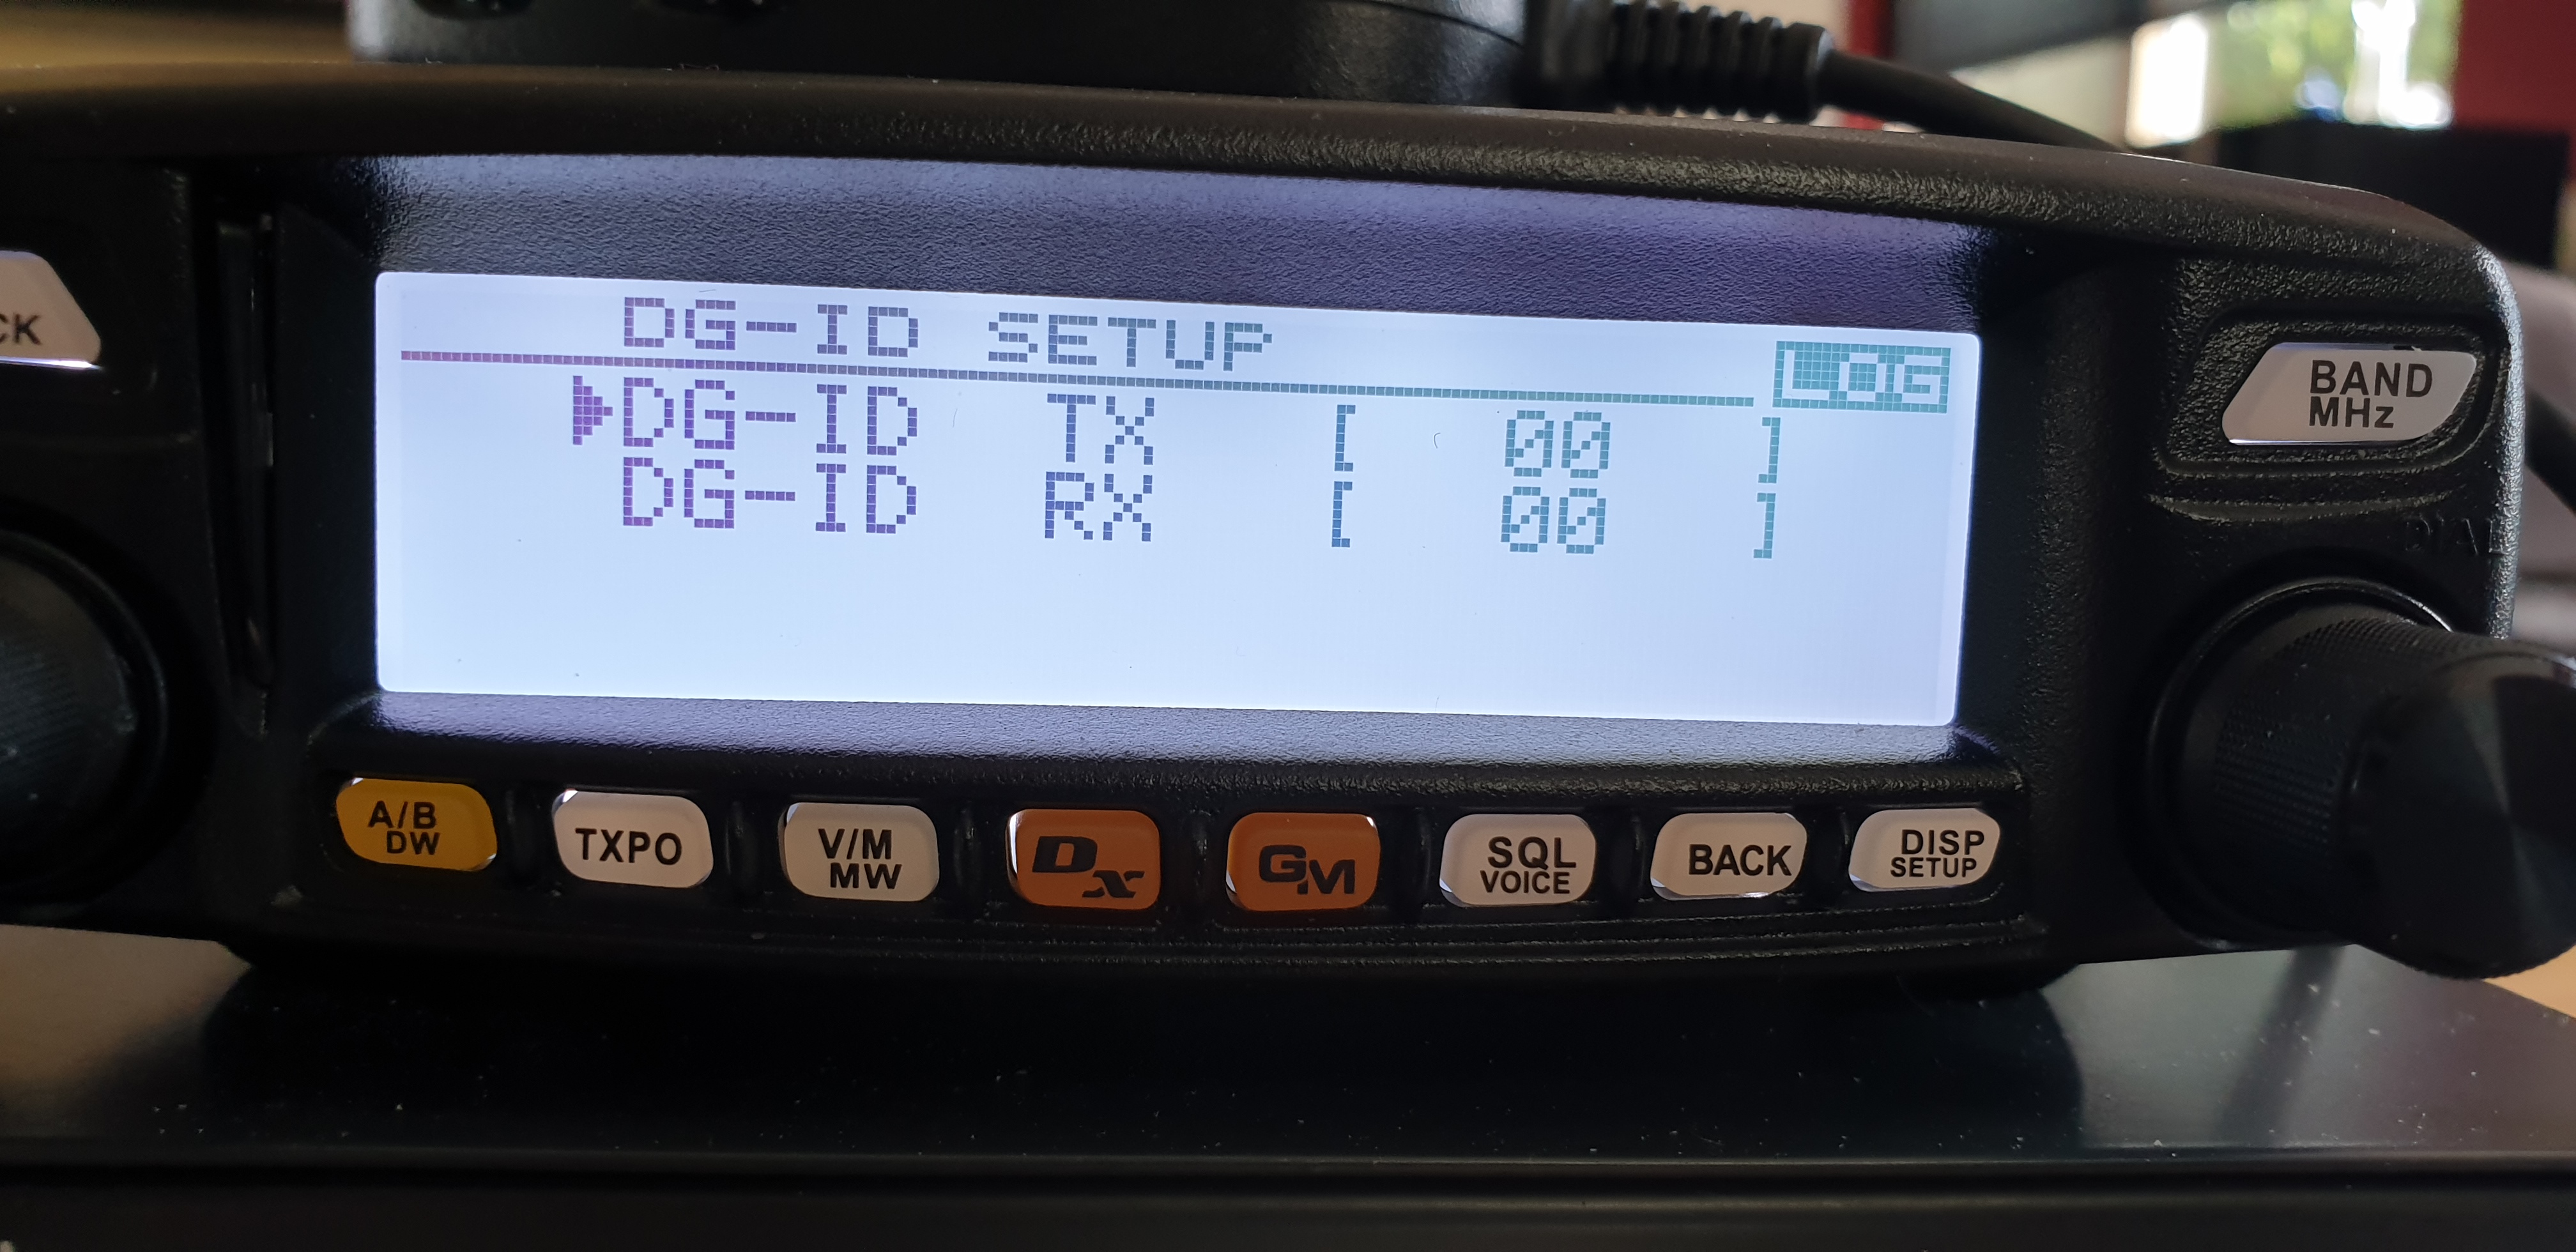
Press the Gm button for 2 seconds to display the DG-ID menu.
Then press the DIAL button, the TX value will now blink.
Turn the DIAL knob and set the desired room number.
Now press the DIAL button again and then the BACK button to return to the basic screen.
Now press PTT to switch to the selected room.
- FT1D, 2D, 3D
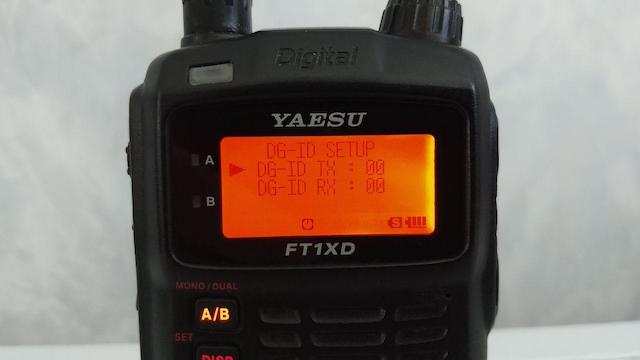
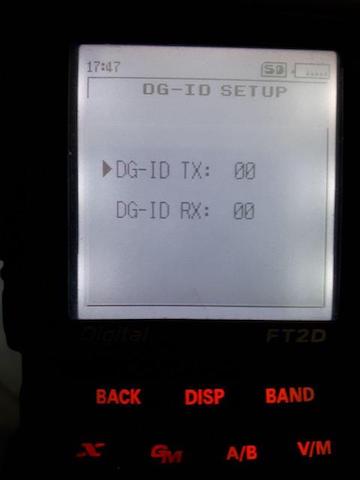
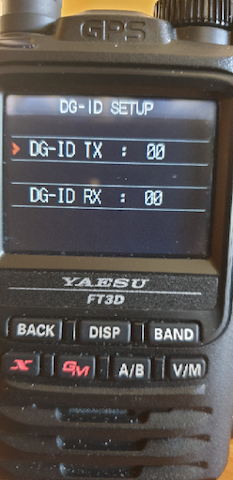
Press the Gm button for 2 seconds to display the DG-ID menu.
Now briefly press the Gm button and use the menu dial to set the desired room number.
Then press the Gm button for 2 seconds to save the settings.
Now press PTT to switch to the selected room
- FTM7250D
Press the Mode button for 2 seconds to display the DG-ID menu
Turn the menu selector and set the desired room number behind 'T'.
Then press Mode button for 2 seconds to set save settings
Briefly press Mode button to switch to selected room
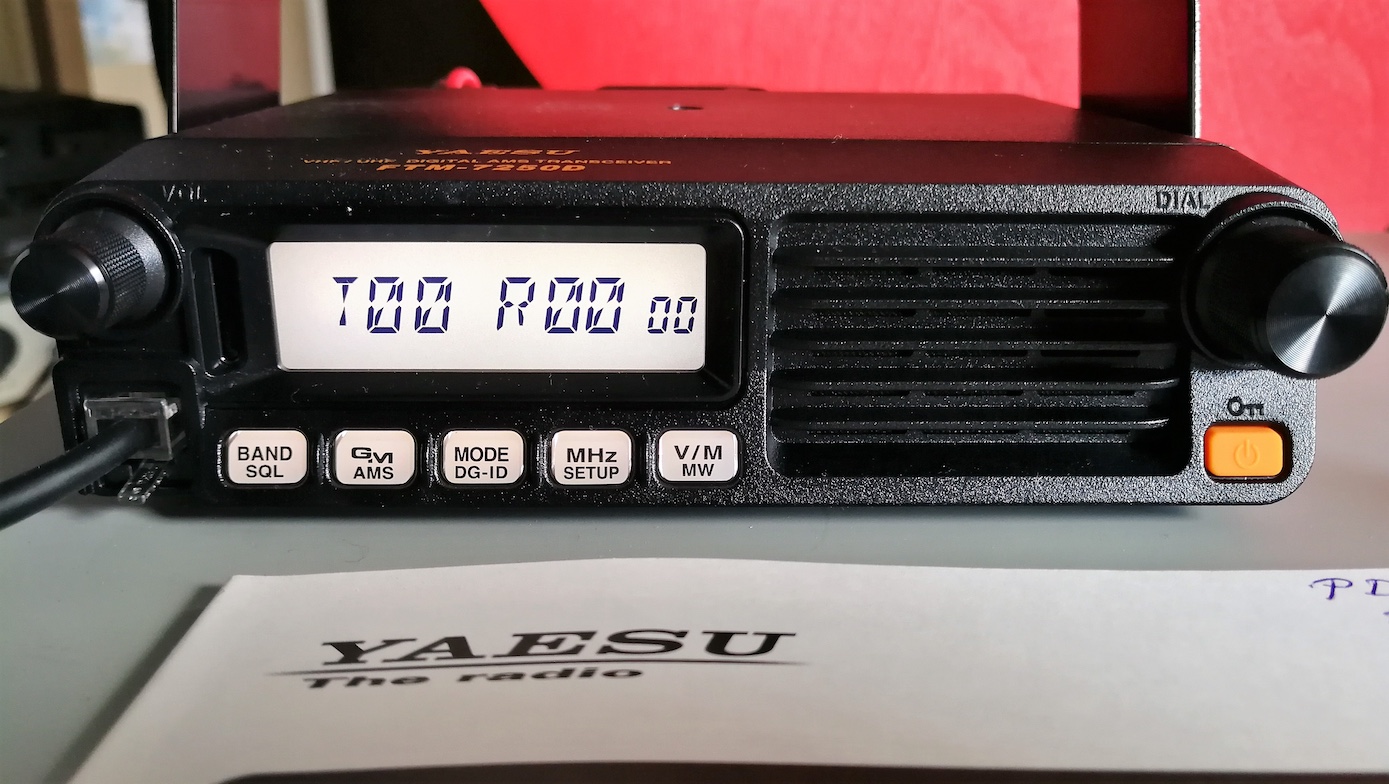
- FT70D
Press the Mode button for 2 seconds to display the DG-ID menu
Turn the menu selector and set the desired room number behind 'T'.
Then press Mode button for 2 seconds to enter save settings
now press PTT to switch to selected room
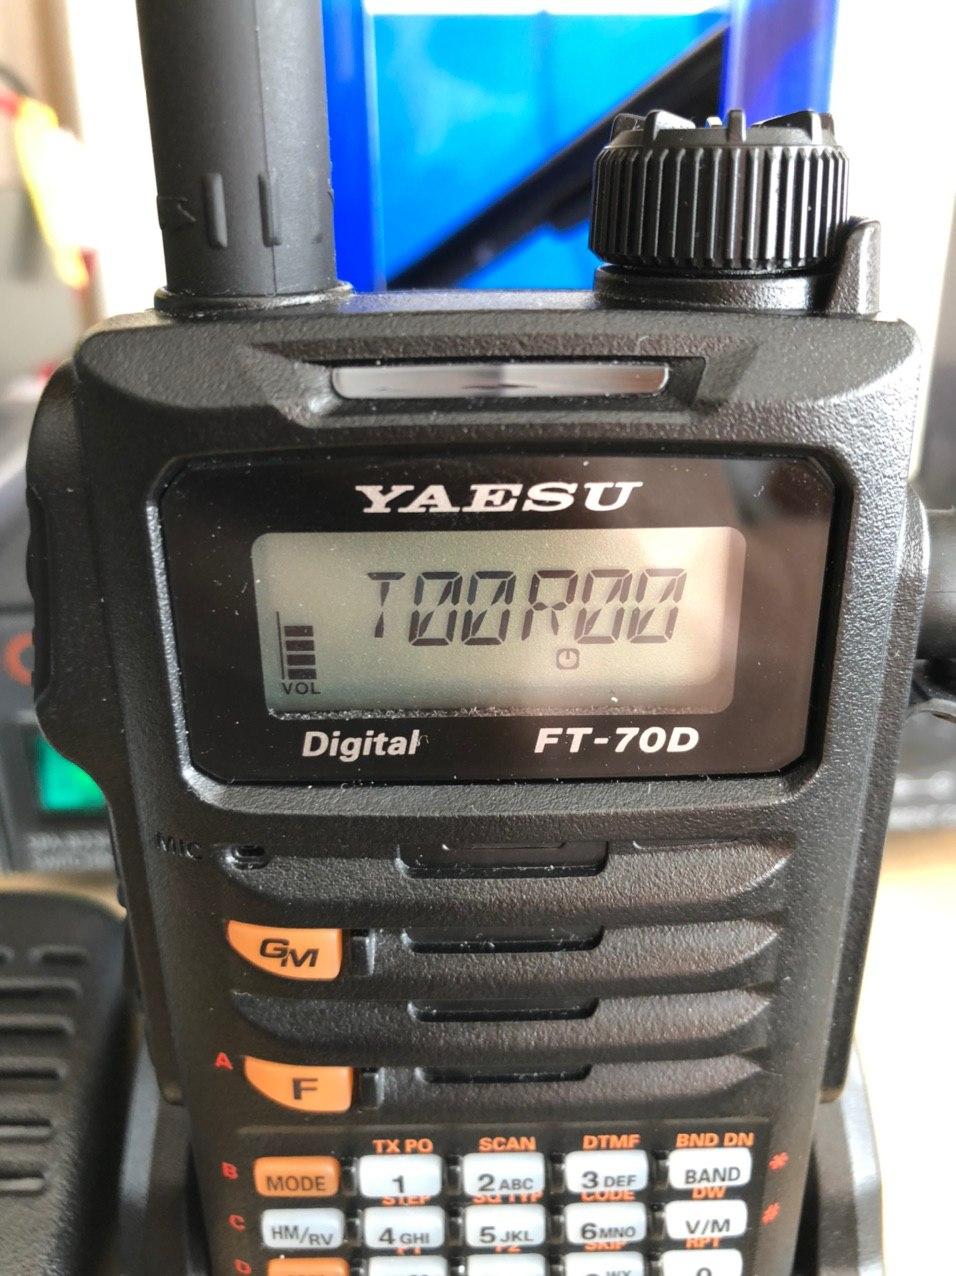
- FT991A
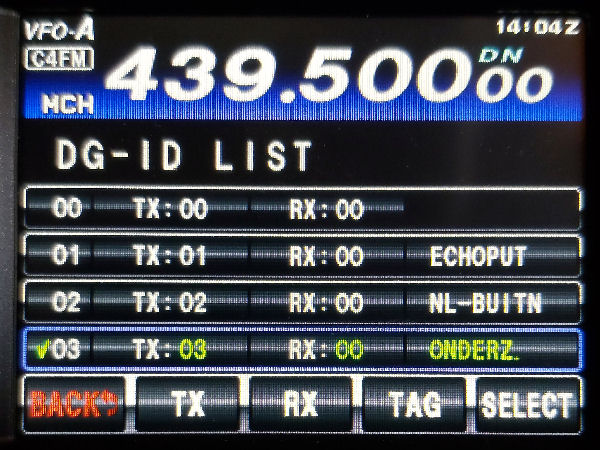
Press the GM button for 2 seconds to display the DG ID LIST
Rotate the multi selector to one of lines 01-10 and enter the desired room number after TX
Then press the SELECT button and then PTT to change to the selected room
Finally , press the BACK button to exit the DG ID LIST
